


How can we help?
Setup & Installation help
Step-by-step instructions for quick and easy installation
View Instructions
Download Center
Manuals
Choose your manual from the dropdown to download.
Software
Here is the latest version of the MyNextbase Player computer software.
The minimum system requirements to allow this software to function are;
Windows 7 OR MacOS 10.9.
Processor: Intel Core i5,
Memory: 4GB,
Display resolution: 1280 x 720 or higher.
Mobile Apps
Apps for your product
The 222 is not mobile app compatible.
Videos

How to install a 222 using a Cigarette Lighter Cable
How to install a 222 using a Hard Wire Kit
How to connect your 222 to a computer
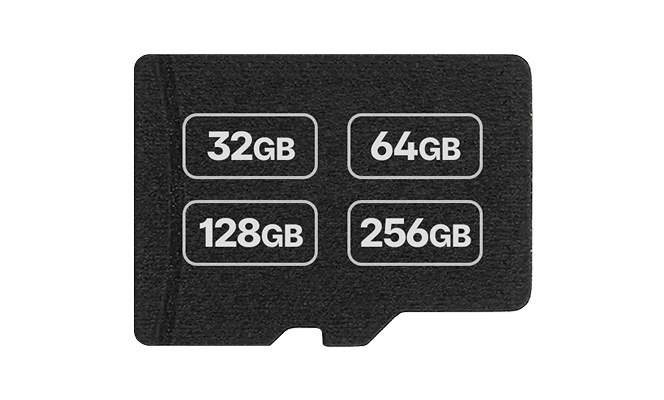
What SD card should I use
222 Review